Download Lightroom presets and LUTs, absolutely free. Use the presets to add creativity and style to your photos.
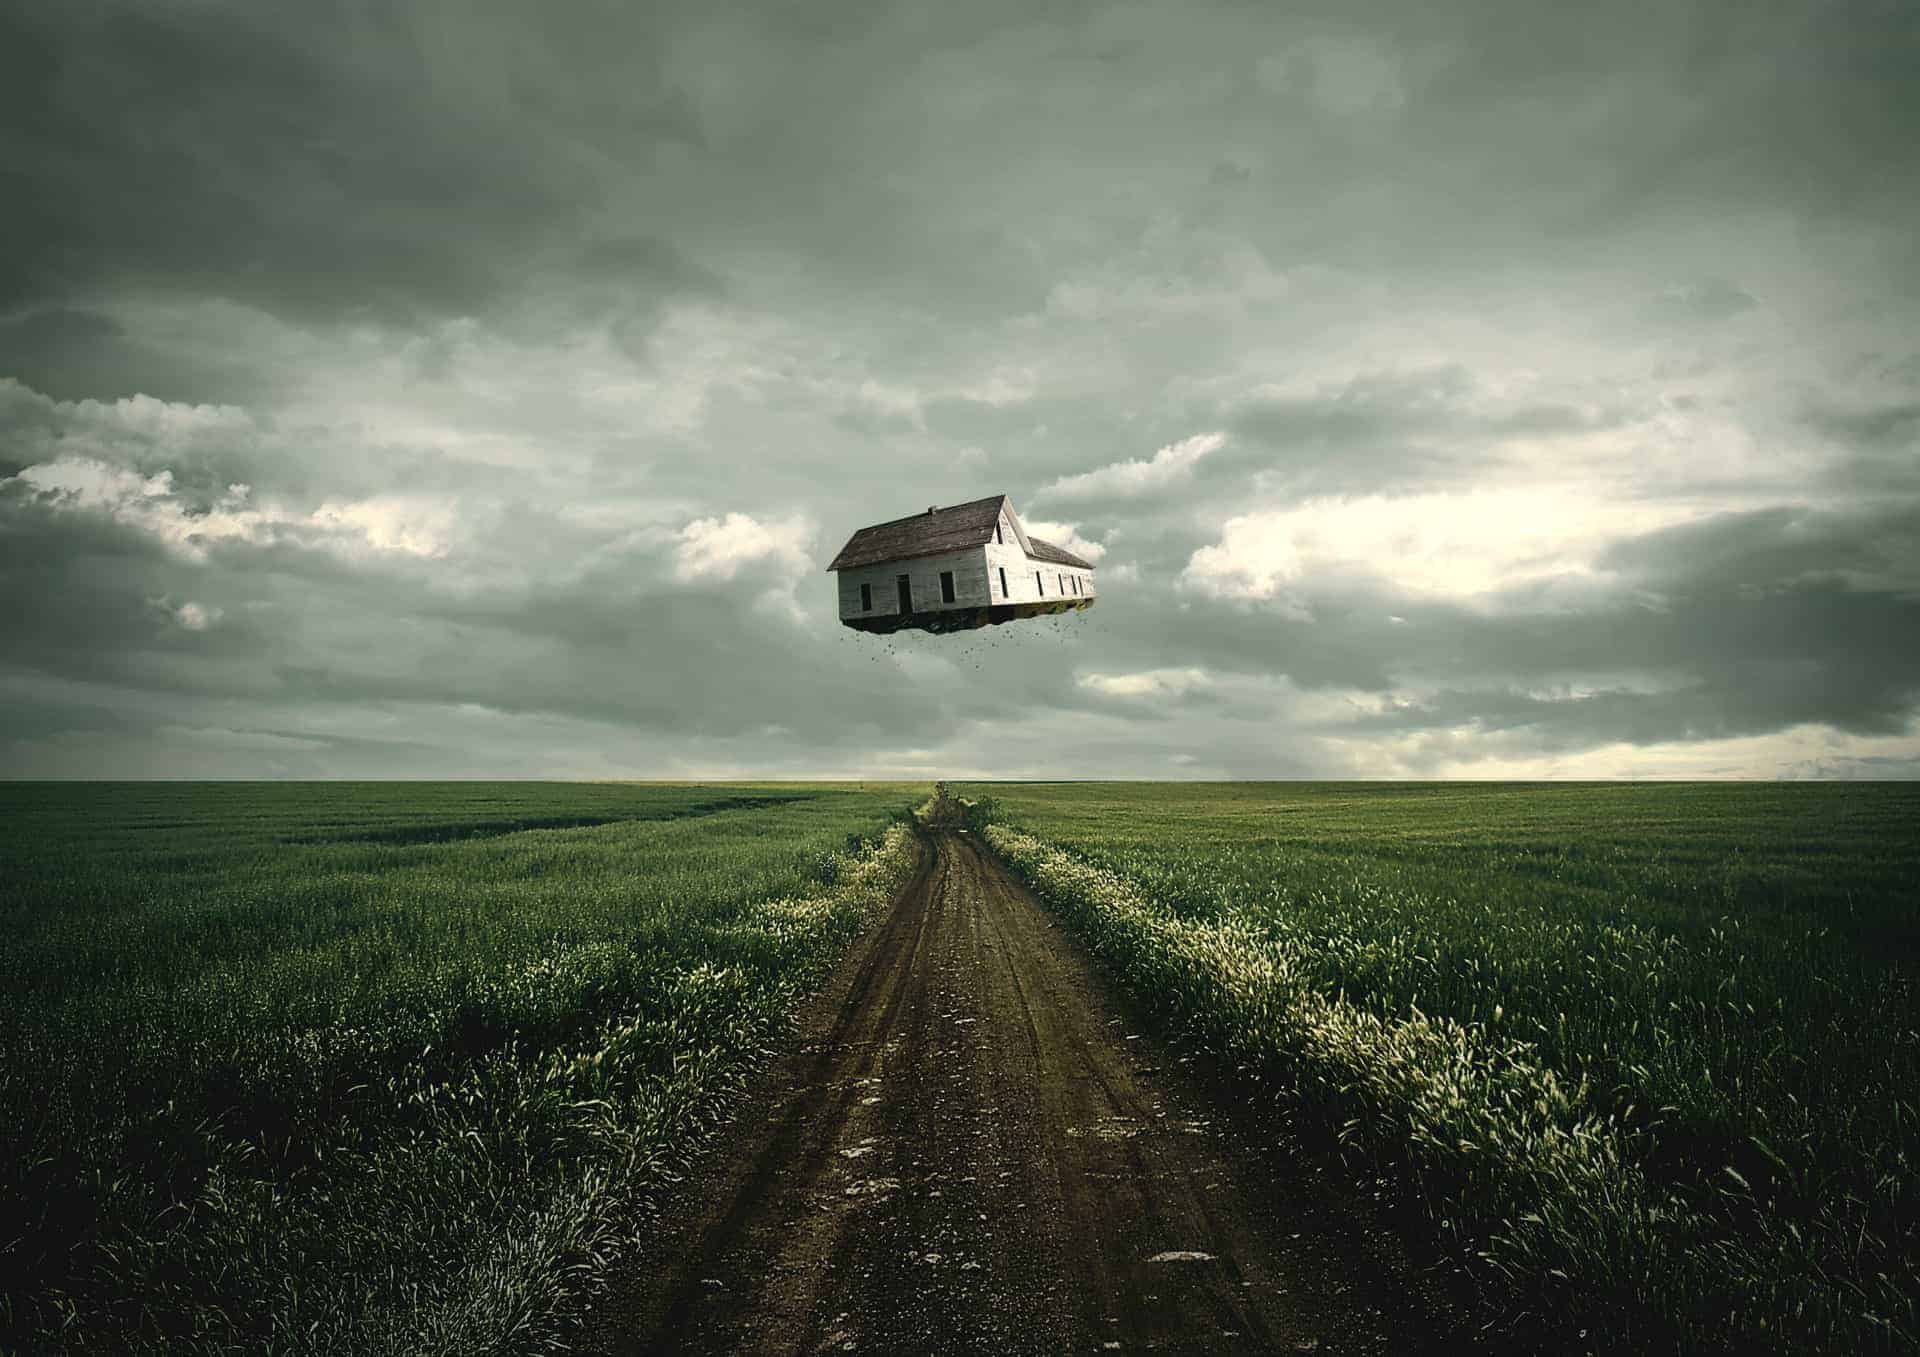
Preview of Final Results

Travelling House Photo Manipulation Photoshop Tutorial
Tutorial Resources
- Sand Road 03 - SuperStarStock
premade20 - nightfatestock(Alternative)Old desert farmhouse - royalstock(Alternative)- Little Island - mindCollision stock
- Winter snow flake brushes PS7 - Keepwaiting
Step 1: Create a New Image File
Let’s start by creating a new image file, go to the Menu bar and click File > New, and then input the following values on their respective fields:- Presets: International Paper
- Size: A4
- Width: 3508 pixels
- Height: 2480 pixels
- Resolution: 300pixels/inch
- Color Mode: RGB Color; 8 bit
- Background Contents: Transparent
![image005[4] image005[4]](https://cdn.photoshoptutorials.ws/wp-content/uploads/migrated-images/image0054.jpg?strip=all&lossy=1&quality=70&webp=70&avif=70&w=1920&ssl=1)
Step 2: Create the Background
In this Step, we will be creating the land and the sky of our background. To start, let’s open the stock image: “Sand Road 03” by SuperStarStock. Next, activate the Move tool by pressing V on your keyboard; left-click the image while the Move tool (V) is activated and then drag that image to our canvas. Move and position it in this manner:![image006[4] image006[4]](https://cdn.photoshoptutorials.ws/wp-content/uploads/migrated-images/image0064.jpg?strip=all&lossy=1&quality=70&webp=70&avif=70&w=1920&ssl=1)
![image007[4] image007[4]](https://cdn.photoshoptutorials.ws/wp-content/uploads/migrated-images/image0074.jpg?strip=all&lossy=1&quality=70&webp=70&avif=70&w=1920&ssl=1)
![image008[4] image008[4]](https://cdn.photoshoptutorials.ws/wp-content/uploads/migrated-images/image0084.jpg?strip=all&lossy=1&quality=70&webp=70&avif=70&w=1920&ssl=1)
![image009[4] image009[4]](https://cdn.photoshoptutorials.ws/wp-content/uploads/migrated-images/image0094.jpg?strip=all&lossy=1&quality=70&webp=70&avif=70&w=1920&ssl=1)
![image010[4] image010[4]](https://cdn.photoshoptutorials.ws/wp-content/uploads/migrated-images/image0104.jpg?strip=all&lossy=1&quality=70&webp=70&avif=70&w=1920&ssl=1)
![image011[4] image011[4]](https://cdn.photoshoptutorials.ws/wp-content/uploads/migrated-images/image0114.jpg?strip=all&lossy=1&quality=70&webp=70&avif=70&w=1920&ssl=1)
![image012[4] image012[4]](https://cdn.photoshoptutorials.ws/wp-content/uploads/migrated-images/image0124.jpg?strip=all&lossy=1&quality=70&webp=70&avif=70&w=1920&ssl=1)
![image013[4] image013[4]](https://cdn.photoshoptutorials.ws/wp-content/uploads/migrated-images/image0134.jpg?strip=all&lossy=1&quality=70&webp=70&avif=70&w=1920&ssl=1)
![image014[4] image014[4]](https://cdn.photoshoptutorials.ws/wp-content/uploads/migrated-images/image0144.jpg?strip=all&lossy=1&quality=70&webp=70&avif=70&w=1920&ssl=1)
![image015[4] image015[4]](https://cdn.photoshoptutorials.ws/wp-content/uploads/migrated-images/image0154.jpg?strip=all&lossy=1&quality=70&webp=70&avif=70&w=1920&ssl=1)
![image016[4] image016[4]](https://cdn.photoshoptutorials.ws/wp-content/uploads/migrated-images/image0164.jpg?strip=all&lossy=1&quality=70&webp=70&avif=70&w=1920&ssl=1)
Step 3: Enhance the light of the Background
Now, we will be creating layers that we would be brushing in some light and shadow to enhance the look and feel of the background. To start, let’s create a new layer on top of the field and sky layer by pressing Ctrl/Cmd + Shift + N while the sky layer is selected (this way the new layer will be created on top of the sky layer, thus on top of all the layers). Once its box comes up, input “Lighten” on the name field. Activate the Brush tool (B) but before we start, make sure that the active Brushes are the default brushes. The default Photoshop brushes are shown on the image below, if that’s not what you see, then follow the instructions below:![image017[4] image017[4]](https://cdn.photoshoptutorials.ws/wp-content/uploads/migrated-images/image0174.jpg?strip=all&lossy=1&quality=70&webp=70&avif=70&w=1920&ssl=1)
![image018[6] image018[6]](https://cdn.photoshoptutorials.ws/wp-content/uploads/migrated-images/image0186.jpg?strip=all&lossy=1&quality=70&webp=70&avif=70&w=1920&ssl=1)
![image019[4] image019[4]](https://cdn.photoshoptutorials.ws/wp-content/uploads/migrated-images/image0194.jpg?strip=all&lossy=1&quality=70&webp=70&avif=70&w=1920&ssl=1)
- Brush size: 800px
- Hardness: 0%
- Opacity: 15%
- Flow: 100%
- #: fff7bf
![image020[4] image020[4]](https://cdn.photoshoptutorials.ws/wp-content/uploads/migrated-images/image0204.jpg?strip=all&lossy=1&quality=70&webp=70&avif=70&w=1920&ssl=1)


5 comments on “How to Create a Surreal Traveling House Photo Manipulation in Photoshop”
Cool concept! Thanks for the tut!
Cool! It gave me a good idea what to do next! Want more of this!!!! :-)
did you see the man's face in the field
genius..what else can i say
I really like the flying house good job.