Shiny Lock Icon Design Tutorial
Posted by webiconset in the Icon Tutorials section.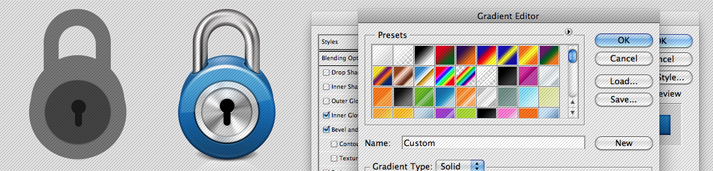
Hello to you all, we hope this following tutorial can be helpful in creating a good Icon design using Adobe Photoshop. The version I’m working with here is CS3. If you follow the following steps you will definitely find your self with the final result:

Step 1
Let’s get to it. Below you have a simple basic shape that can be used as a guide to all the other sections of this icon. We’ll be using a few elements throughout the tutorial and so you will get a feel for what we are trying to accomplish. Below we are using some basic shapes:

Step 2
We designed a simple shape that will serve as a guide. You can create this shape by using either the Pen Tool or simple circle shapes and removing extras, it’s up to you. Now we will be adding extra shapes that will take us to a new level of understanding to complete the shape we want.


Step 3
Now, as we already have all the shapes, we can start adding some colors and some layer styles!

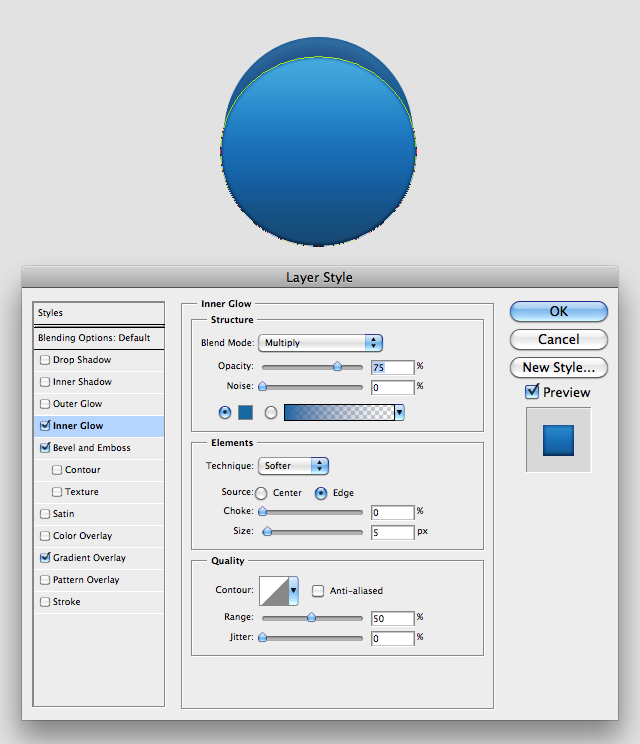
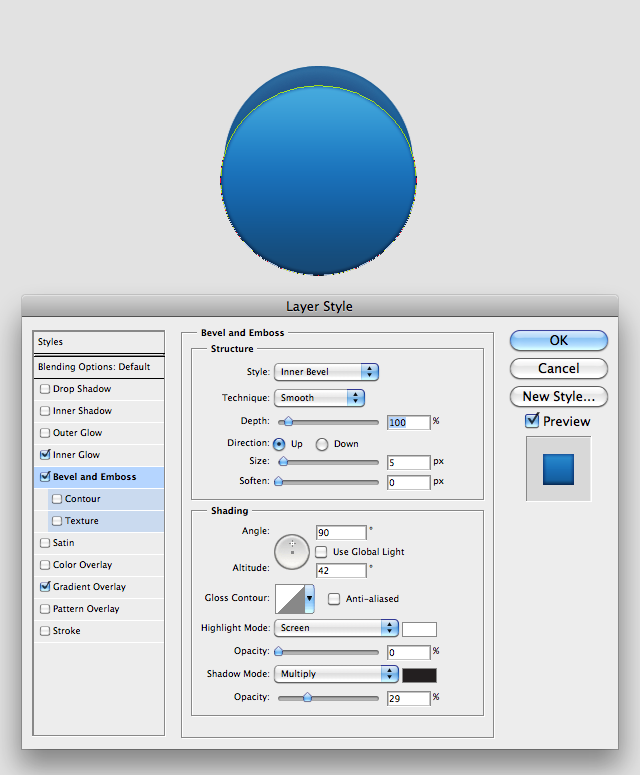
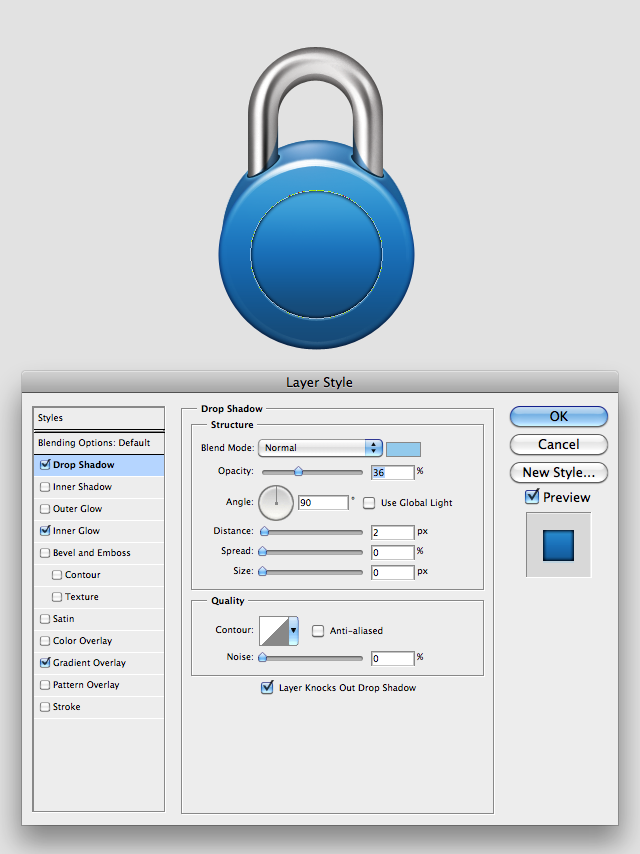
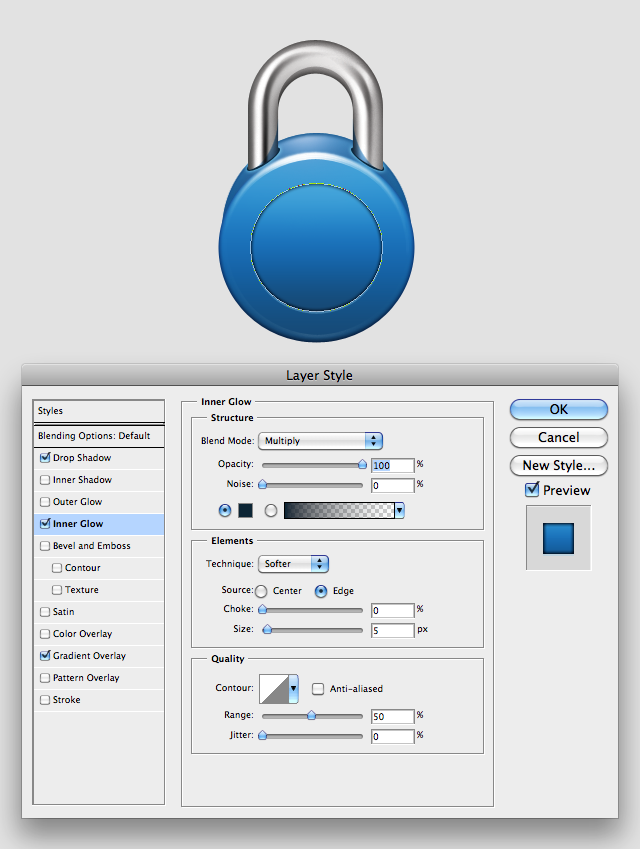
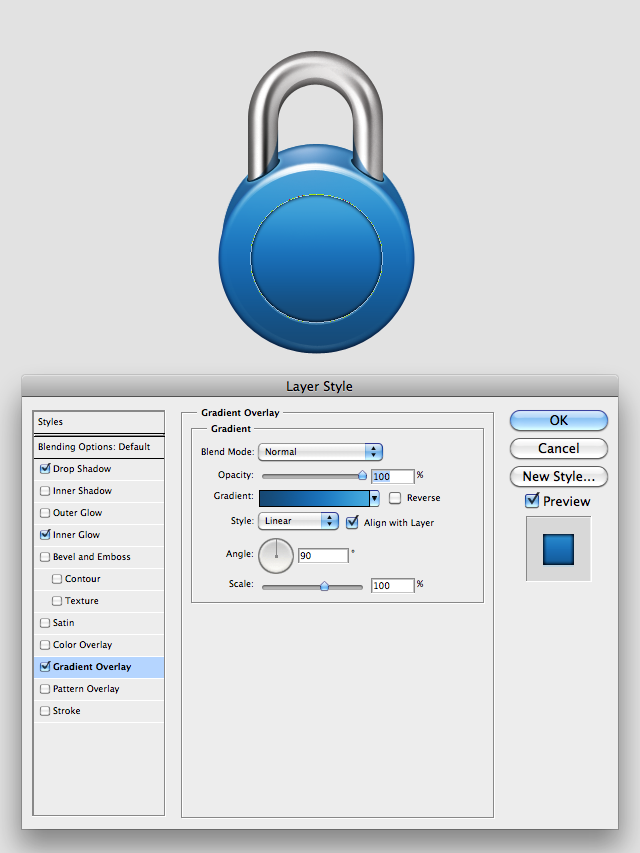
Step 4
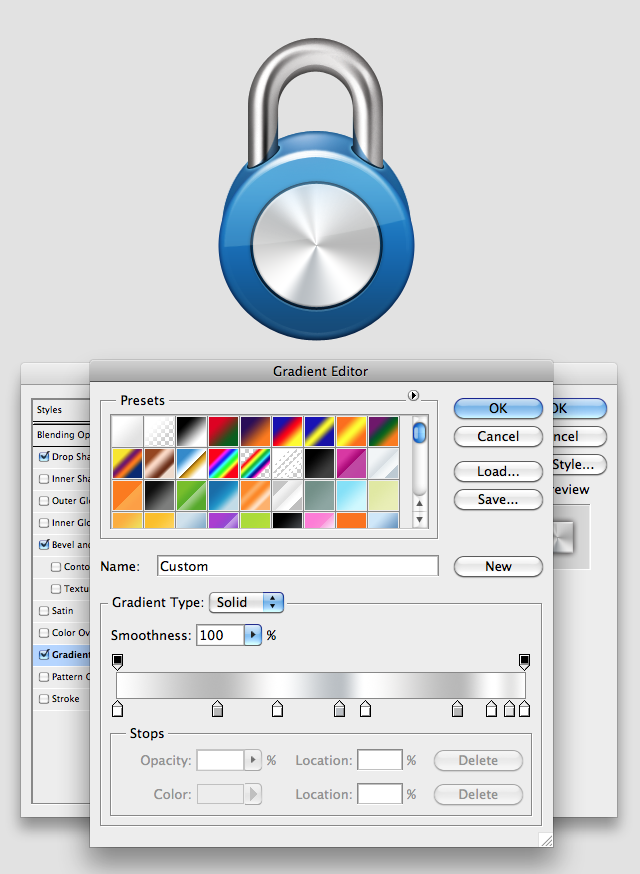
Starting from the main circle, we’ll be adding some layer style to help with the realism of this icon. We are adding some great elements that will help us add some gradients. See below:
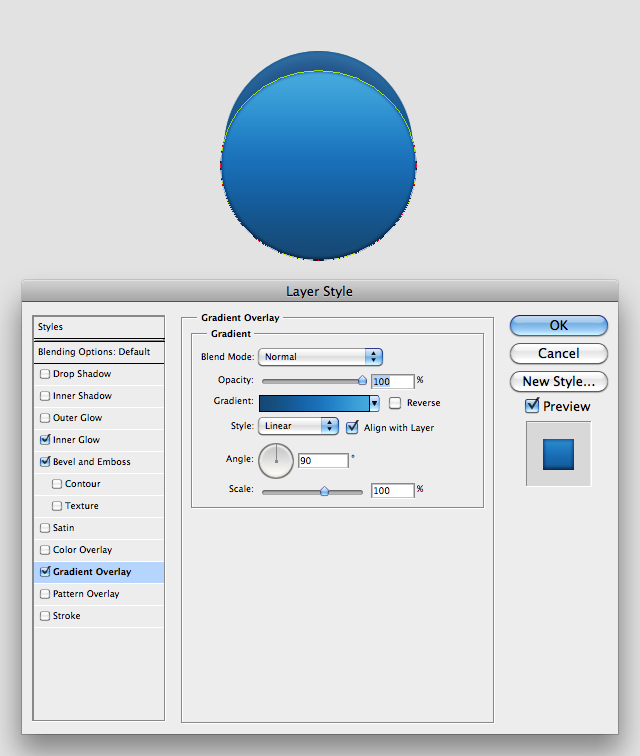
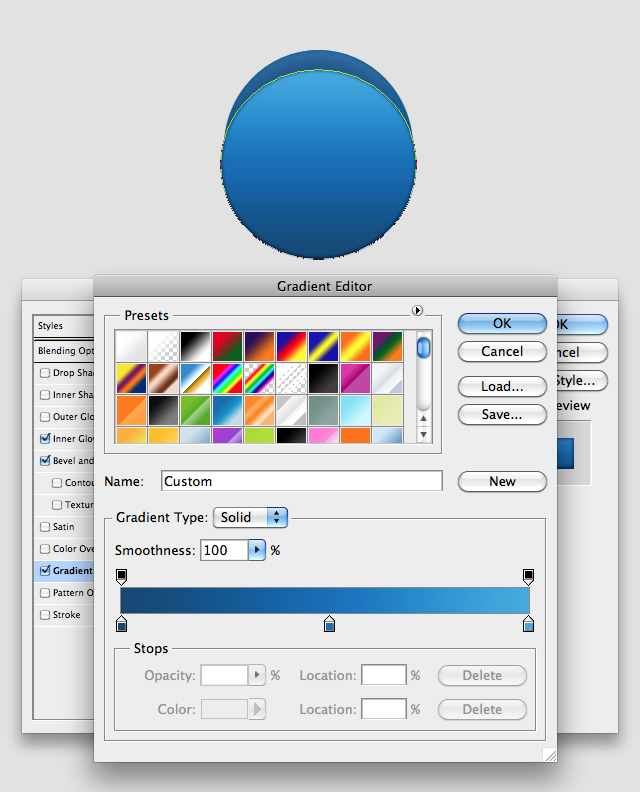
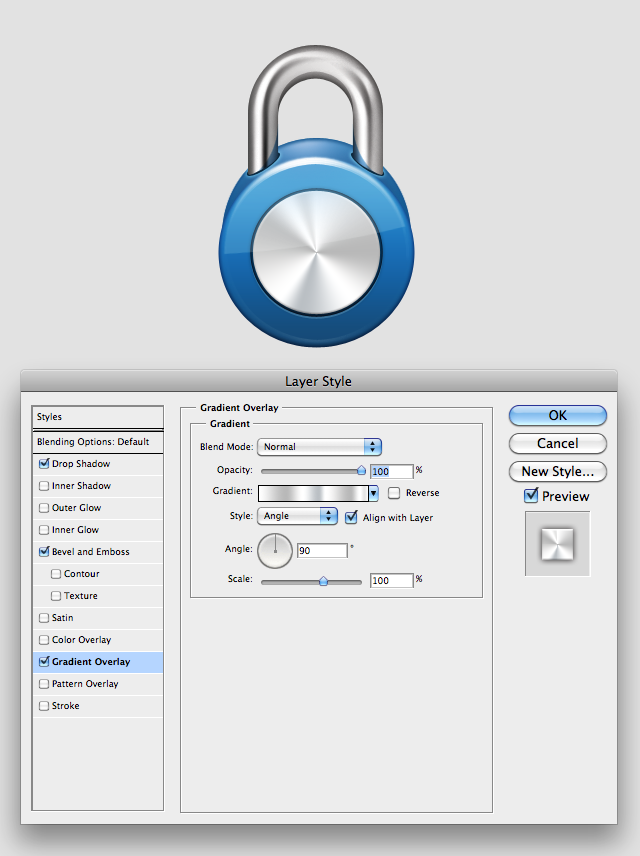
Step 5
Once we have added these elements and styles, we have to move on into the chrome section as it will give us a better idea of what we are looking for! First of, we need to add the shape we are going to use as a guide to create the chrome section. Take a look below.

Step 6
Now, using our brush tool is the only way we can get this effect, and this is something we have to play around. The best way to achieve a good chrome effect, is to look at a photo of chrome bars, this will help get an idea of lighting and effects that you should apply. Below is applying this effect.

Step 7
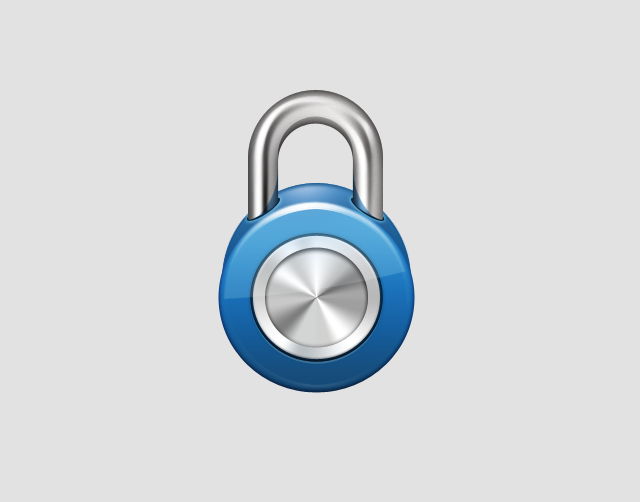
If you play around with it enough, here is the result you get:
Step 8
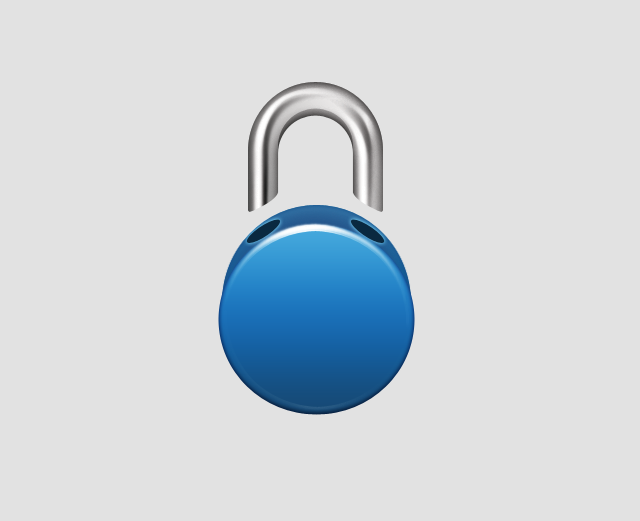
Now we need to start applying some effects and shine to the blue porting and some of the outer elements.
Step 9
We’ll be adding as well, a nice touch to the portions inside the blue section, as well as some elements to complement the chrome inside the “key” hole. Here is adding some of those elements and how they play well together.

Step 10
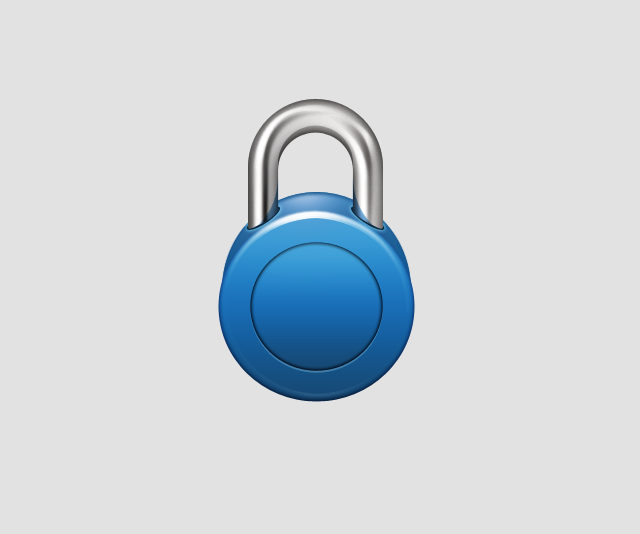
Now that we have a pretty good idea of what we are dealing with, we can already see this icon taking shape!
Step 11
The last section of this icon is to add a key hole and we’ll accomplish what we are looking for!