Since there was a decent demand for tutorials about my technique on the tron/cyborg painting I did a few month ago Android Legacy
Today I tried to cover the essential steps in a making-of and how-to on this blog. The suggested requirements are Photoshop from CS3/4/5 a Wacom tablet and it is an advantage if pen tool, brushes and layers are familiar to you, just in case you want to recreate the image. The workshop is for advanced users.
Today I tried to cover the essential steps in a making-of and how-to on this blog. The suggested requirements are Photoshop from CS3/4/5 a Wacom tablet and it is an advantage if pen tool, brushes and layers are familiar to you, just in case you want to recreate the image. The workshop is for advanced users.
The whole tutorial is published as a 6-page-workshop in the German magazine der bildbearbeiter (former Advanced Photoshop) and is, you can guess it, in German language. But since many of you asked, I negotiated that I am able to publish a part of the tutorial process in English language for foreign readers, unfortunately just not in depth as the printed version, if there are questions to any specific point, feel free to ask in a comment and I explain it.
If you are German and want to read the whole tutorial, bitte hier klicken und das Magazin bestellen.
If you are German and want to read the whole tutorial, bitte hier klicken und das Magazin bestellen.

Why another android-tron-cyborg-fembot-like painting you may ask? Well, the challenge for an artist is to see things from a different angle.
The idea for the following was inspired by a stock-image from Marcus J. Ranum (first frame in step 01) and was used with written permission for this workshop. If possible I recommend making your own reference or stock-images, but because no one can be gifted in everything, nothing speaks against a collaboration with talented photographers and models.
For commissioned work, my workflow is somewhat different and starts usually with a rough sketch. This method of working although allows for a very free approach and also to concentrate on new techniques.
Compositing and the possibility to play with different elements is the kind of freedom I embrace in photo manipulation combined with digital painting.
Since there was little time for the workshop and workshop piece, I had the idea to use a flat background and build it from something analogue to achieve an authentic look.
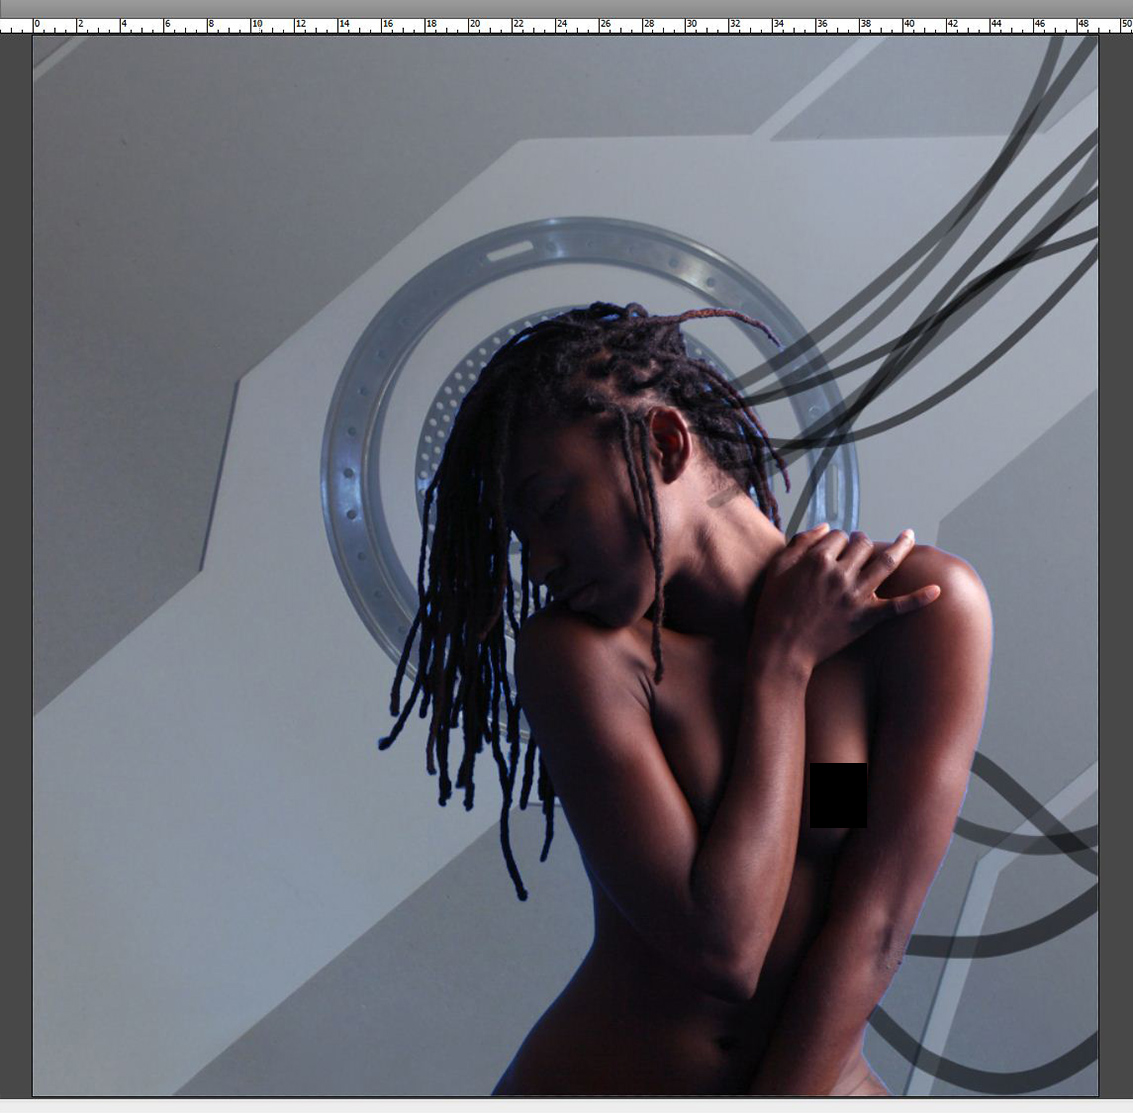
For this I took and cut some paper boards and findings and draped them into a graphical arrangement like you can see in the unedited shot in The image above, pretty basic handiwork. I made a photograph of it and adjusted that with camera-raw converter into black and white.
In between I cropped the figure with the polygonal lasso tool from the background, so that I am able to put my newly photographed paper-mess behind the model. If you´re not fond of the lasso tool, my friend Conzpiracy has a nice introduction to the pen tool as a way to cut or remove parts, recommended watch!
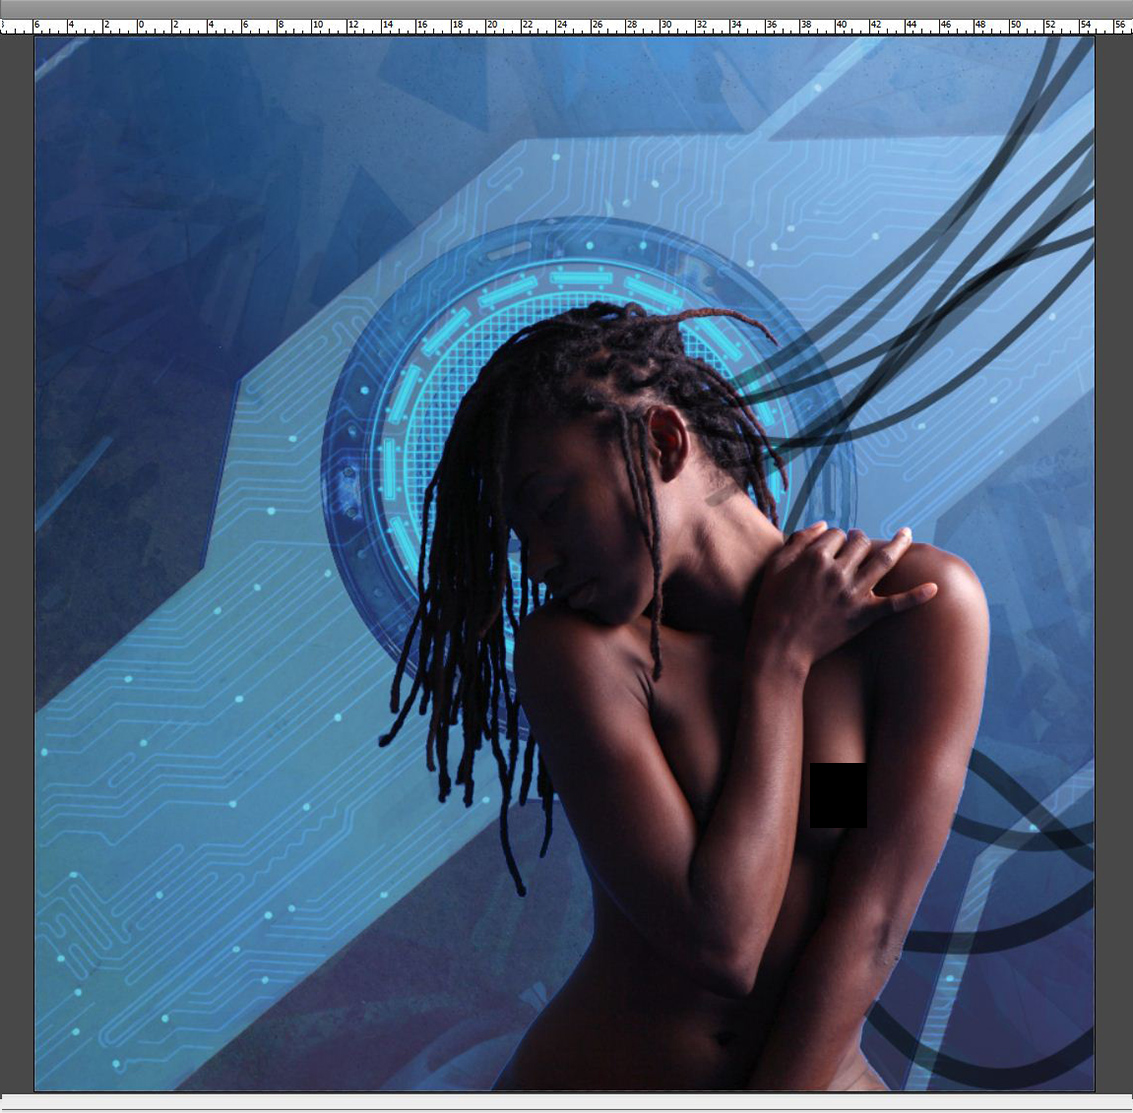
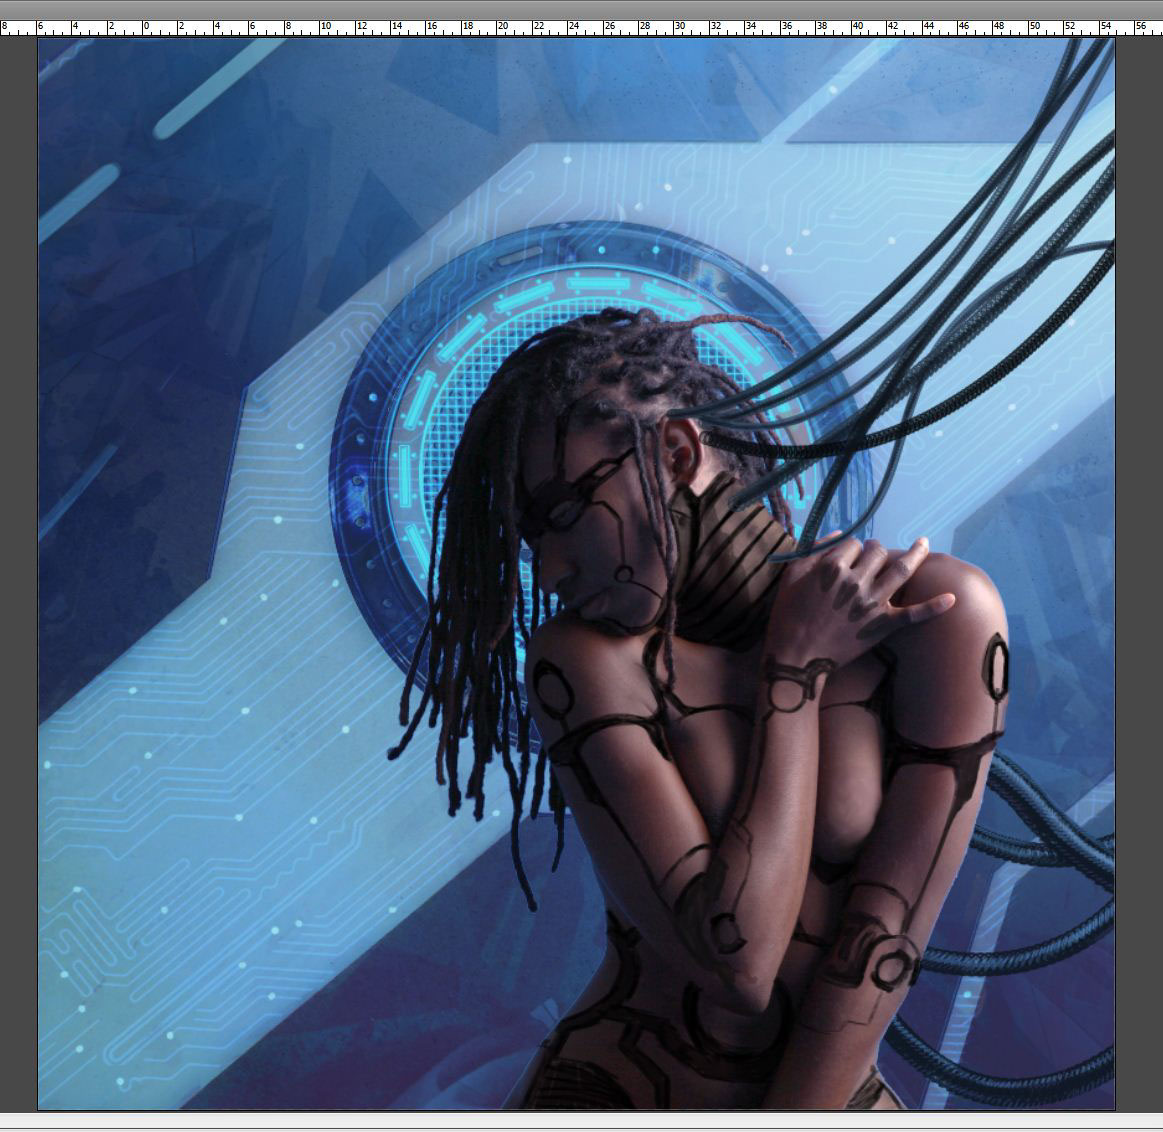
From there I concentrated on the background first. Coloring and brushwork is done. Brushes courtesy of Thierry Doizonand Obsidiandawn were used to make the paper look like a sci-fi metal / glass plate with lots of tech built inside (above image) and of course the obsessive use of color changes and layer styles.
Subscribers to the magazine mentioned at the beginning, are able to download the complete background PSD-file to see how it is done layer by layer.
The tubes in the image below were done using the pen tool in Photoshop, the basic technique on how to run a brush on a path can be found in this video resource here.
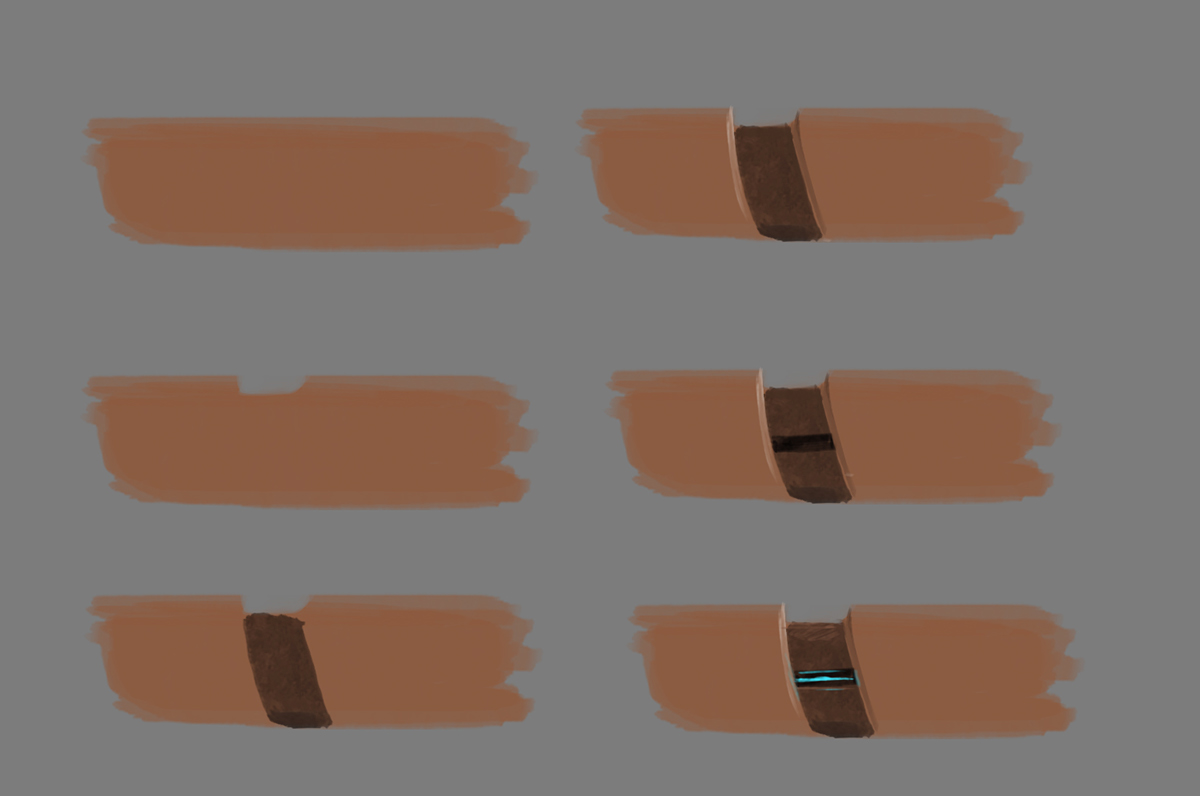
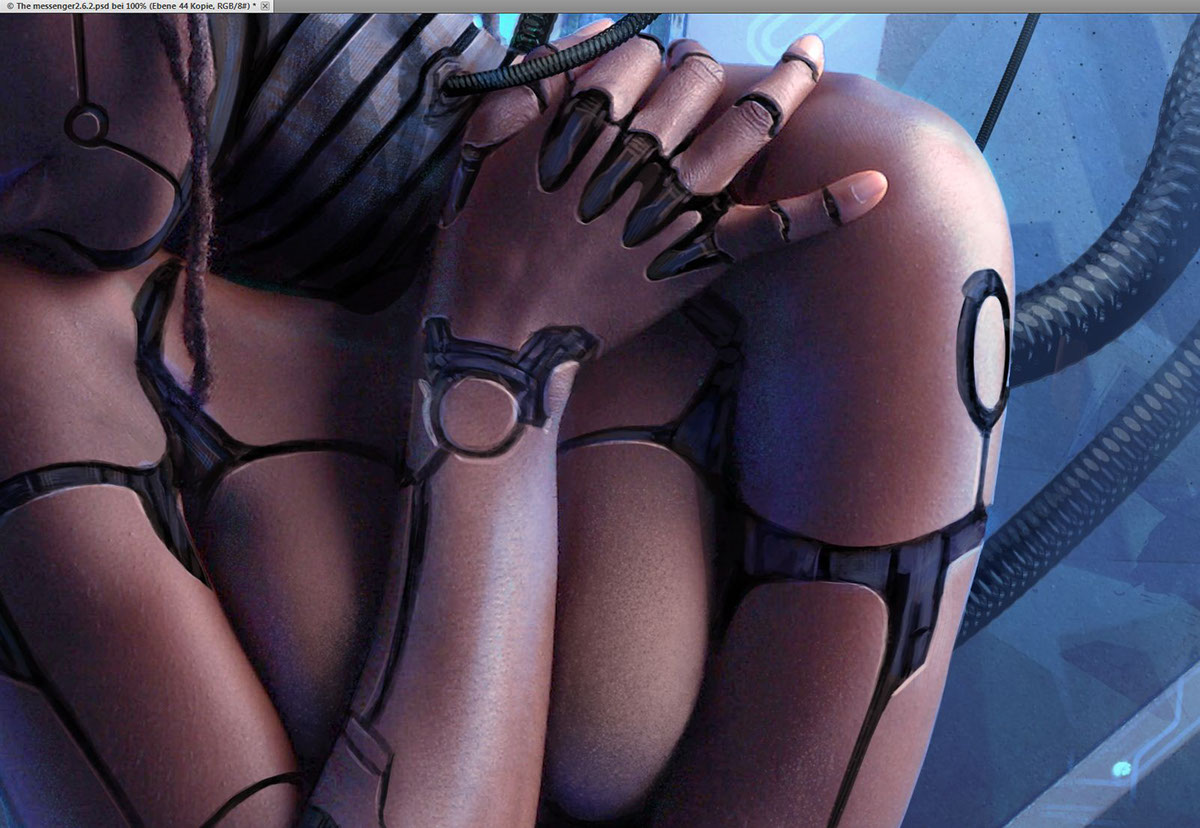
Now the interesting work starts, the tech parts get painted freehand, directly on the skin. For this, I have made a simple example to visualize how in six easy steps, the general structure of the patterns look. Unfortunately there is no shortcut for this work, except you have someone else doing it for you :)
The fine design on the skin is more time consuming, but its worth it.
If possible, I always work freehand without using masks.
Masking limits the creative approach needed to create the design directly on the skin. Even a machine is not 100% perfectly assembled, so don´t try to replicate something as perfect as it will never be, the result will be artificial and viewers notice that.
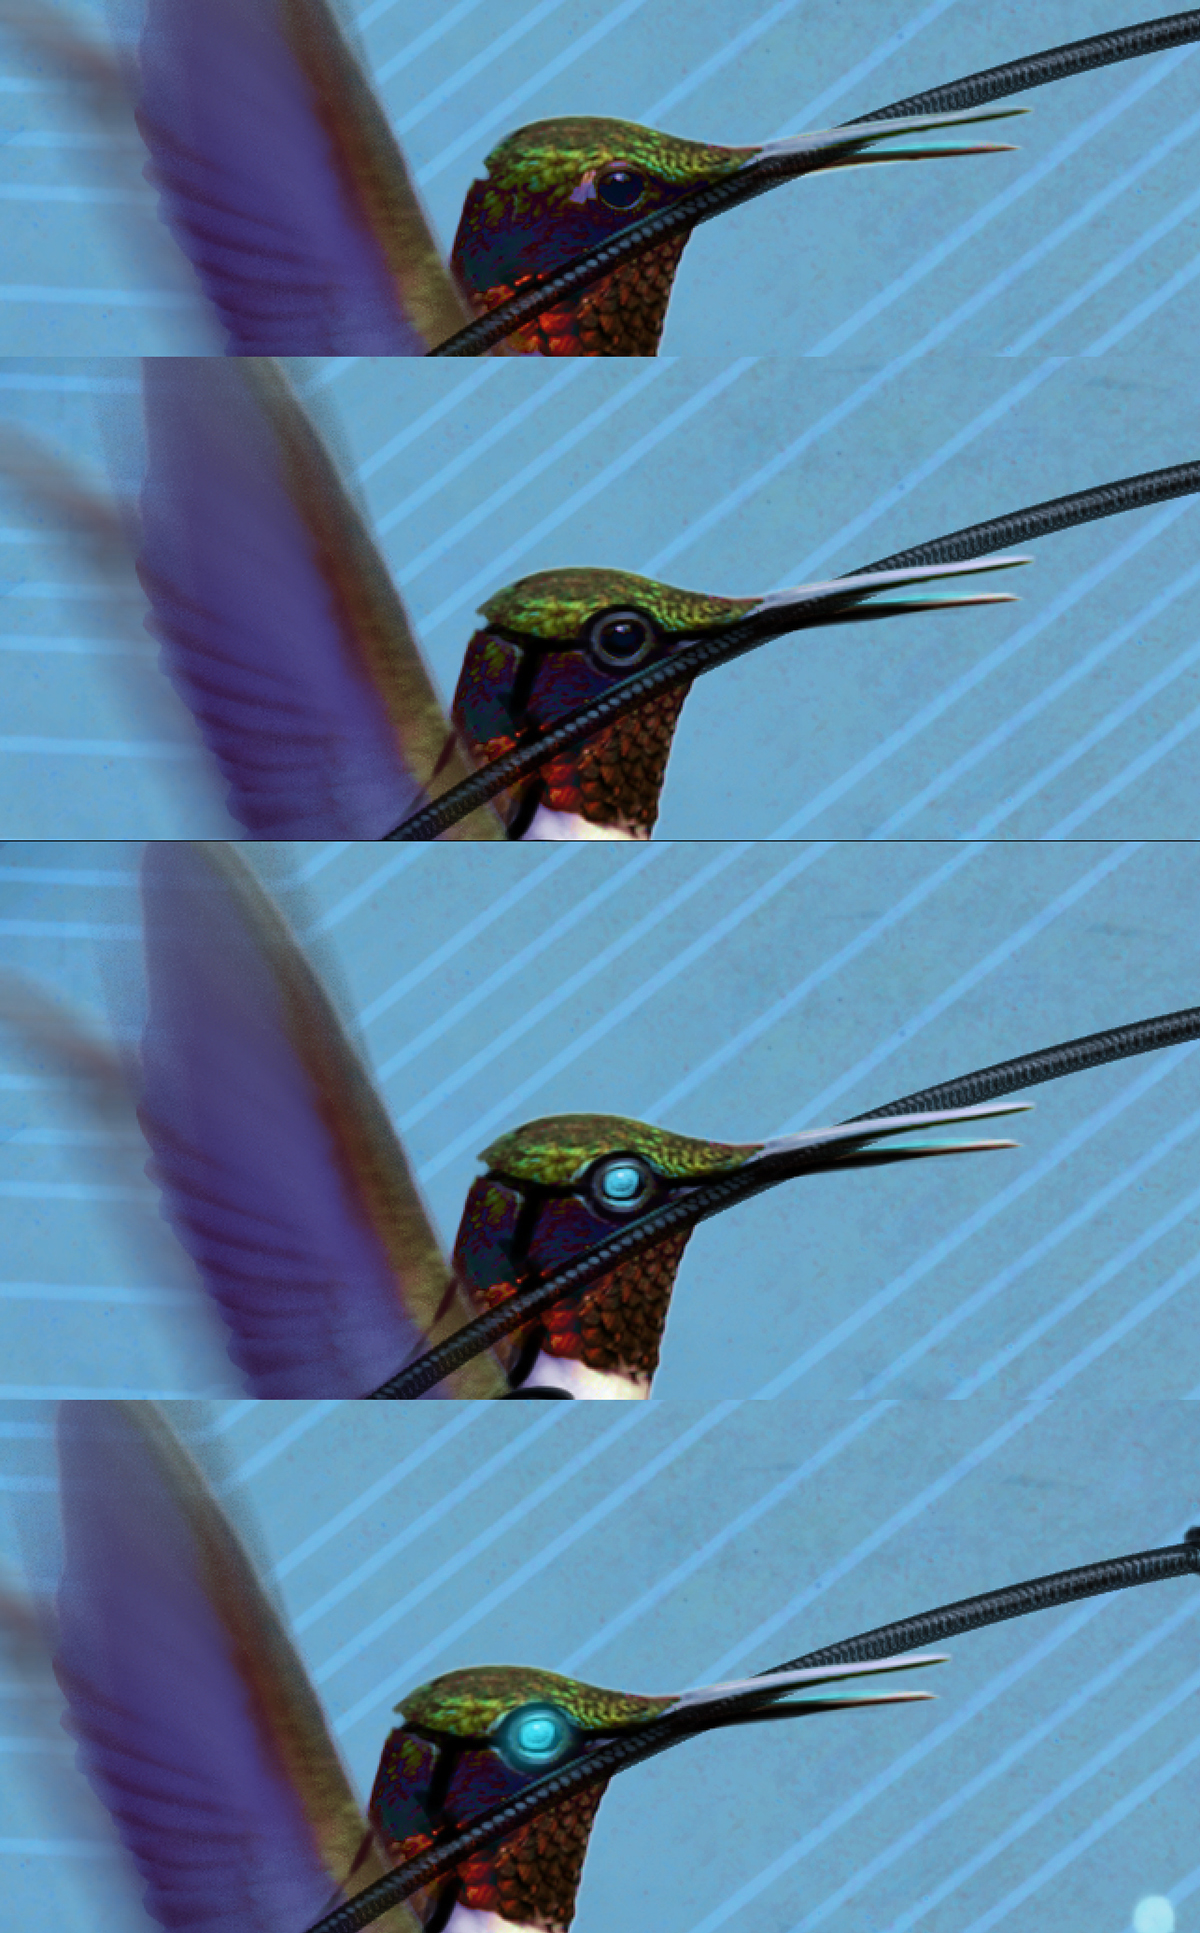
An interesting twist is the hummingbird, I wanted it to look cyborg-android like too and the same technique was used. On the image below you see the eye of the hummingbird and the process with the lighting that is the same process used on the main character. It is vital to make use of layers wherever possible. You should know your layer palette to understand how to work on top of an object, how to add more light to a bright color and how to use layer styles. A good resource regarding how to paint with layers is CTRL-Paint, it´s a free resource with lots of great videos and tutorials!
Seeing this picture I remember that there was another tube, the one the bird has in its mouth, well the same technique from-path-to-brush-stroke took place here and a little more "cut-and-paste" to get the tube between the jaw. The image of the hummingbird can be found on istockphoto. I changed the colors with layer-styles and made the wings look as if they were moving with various blur tools.
Seeing this picture I remember that there was another tube, the one the bird has in its mouth, well the same technique from-path-to-brush-stroke took place here and a little more "cut-and-paste" to get the tube between the jaw. The image of the hummingbird can be found on istockphoto. I changed the colors with layer-styles and made the wings look as if they were moving with various blur tools.
The images below show the progress on the lighting and details on the skin, the lighting was done exactly the way the eye of the hummingbird was done.
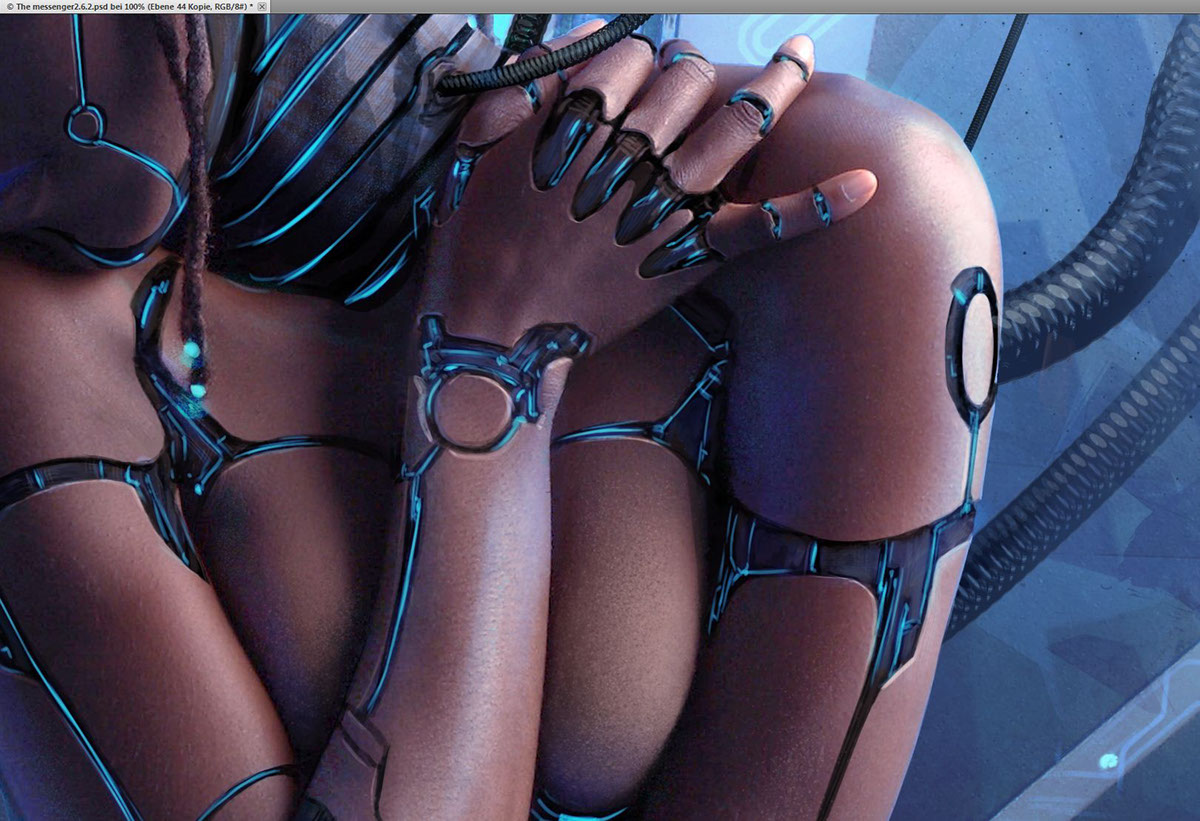
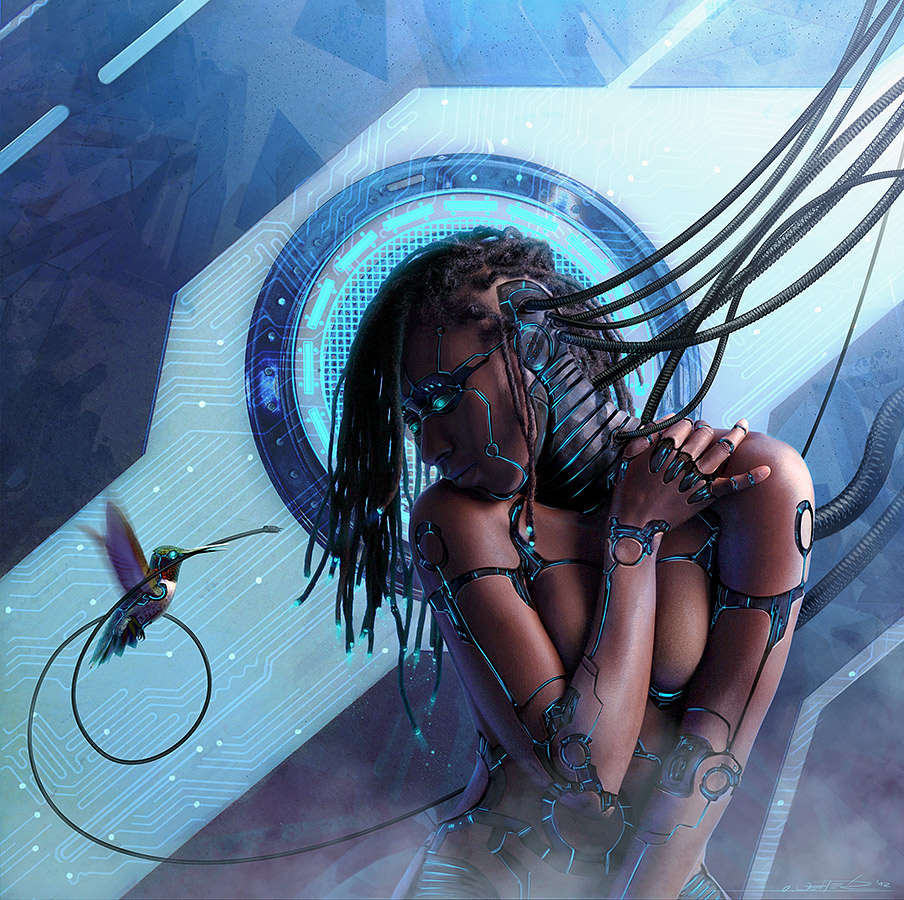
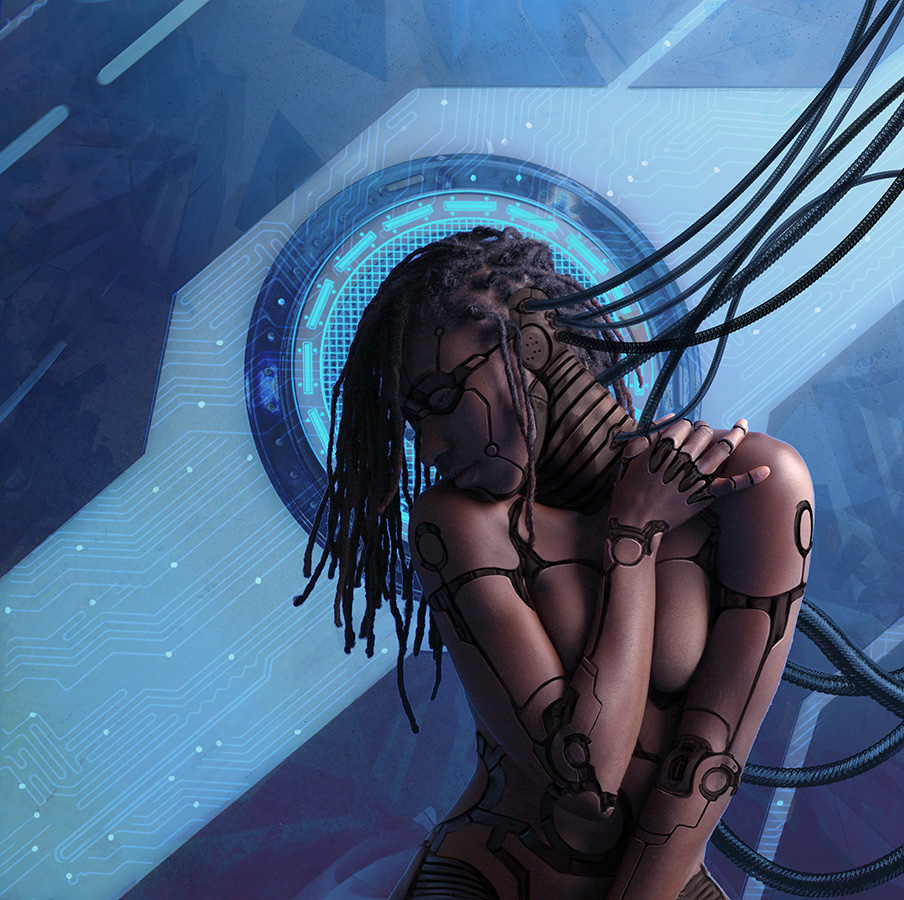
The final step, after everything is merged down to just a few layers, I work on details, revisions and effects, such as mist, glow, cleaning up of some parts and changes that contribute to the overall coherence of the image. Below you see the final image after all revisions are done.